A DIY knotless braid touch-up involves preparing clean, moisturized hair and sectioning it. Choose suitable extensions and employ knotless braiding for a natural look. Maintain consistent tension, work with small sections, and secure ends properly. Use edge control for a polished hairline, consider protective styling, and offer maintenance tips. Avoid over-tightening, blend extensions seamlessly, take breaks if needed, and inspect the final result for adjustments.

Click Here To Buy Braiding hair
Braided hairstyles have been a popular choice for many people for centuries. From intricate cornrows to elegant French braids, these styles are not only versatile but also have a long-lasting effect. However, maintaining these braided looks can often be a daunting task, as constant touch-ups and re-braiding are necessary to keep them looking fresh. Not to mention, the added cost of visiting a salon frequently can quickly add up. That’s where the DIY knotless braid touch-up comes in. By learning this technique, you can save both time and money while still achieving a flawless braided look.

In this guide, we will discuss everything you need to know about the knotless braid touch-up method, from the necessary tools and products to step-by-step instructions. So, whether you’re new to braiding or a seasoned pro, keep reading to discover the secrets of maintaining your braided hairstyle with ease, all from the comfort of your own home. Say goodbye to expensive salon visits and hello to a budget-friendly, DIY knotless braid touch-up.
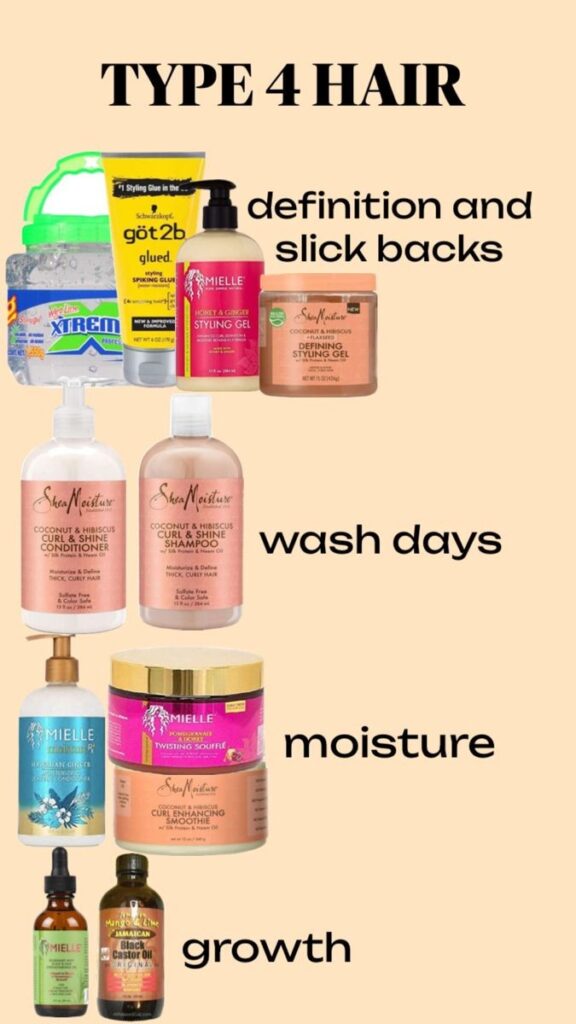
Click Here To Buy Products
1.Braid Repair Magic
Braid repair magic involves fixing damaged or unraveling braids. Start by identifying the issue – whether it’s a loose braid or frayed ends. Use a crochet hook to re-braid loose sections, incorporating your natural hair if needed. Secure with an elastic band, and if there are frayed ends, trim them neatly. Apply a small amount of hair-friendly adhesive or gel to reinforce the repair. This quick fix restores the neatness and longevity of your braids, keeping your hairstyle looking fresh.
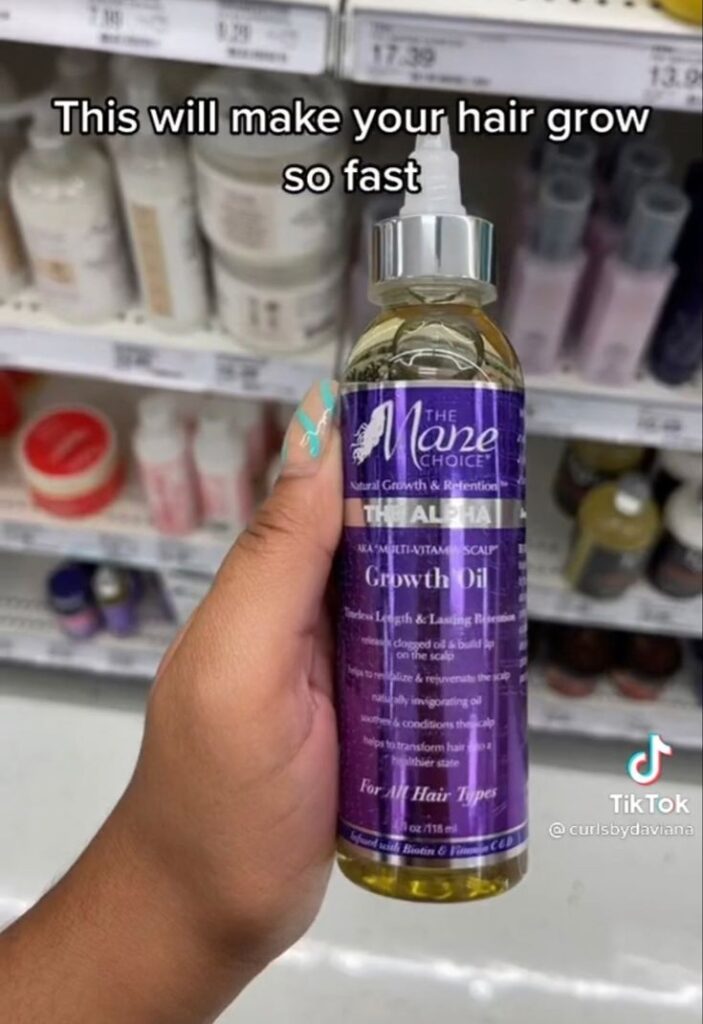
Click Here To Buy Products
2.Scalp Refreshening & Braid Tightening
To refresh your scalp and tighten braids, first, use a diluted apple cider vinegar rinse or a refreshing scalp spray to cleanse and invigorate the scalp. Gently massage it in, then follow with a light moisturizer to prevent dryness. For braid tightening, identify any loose or slipping braids and use a small crochet hook to pull in additional hair from the roots. Adjust tension carefully to avoid discomfort. Finish by applying a non-greasy hair oil to maintain scalp health and keep the braids looking neat. This process rejuvenates both your scalp and the tightness of your braided hairstyle.

Click Here To Buy Products
3.Baby Hair & Edge Work
Creating sleek baby hair and defining edges involves using an edge control product or gel. Start by applying a small amount along your hairline. Use a soft brush or toothbrush to shape and define baby hairs, ensuring a polished look. Avoid applying too much product to prevent a greasy appearance. This simple process enhances the overall neatness of your hairstyle and adds a finishing touch to your edges, framing your face beautifully.
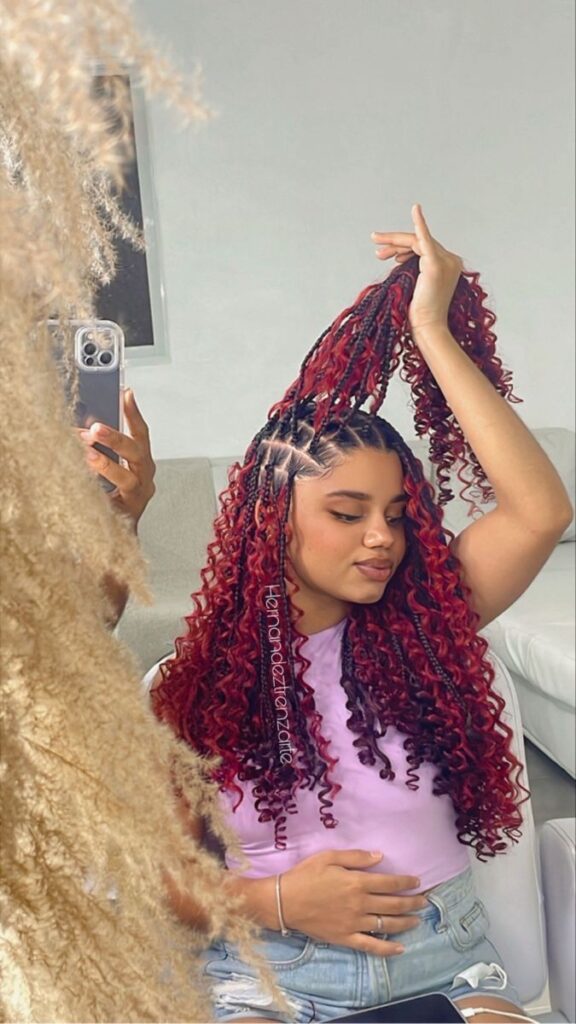


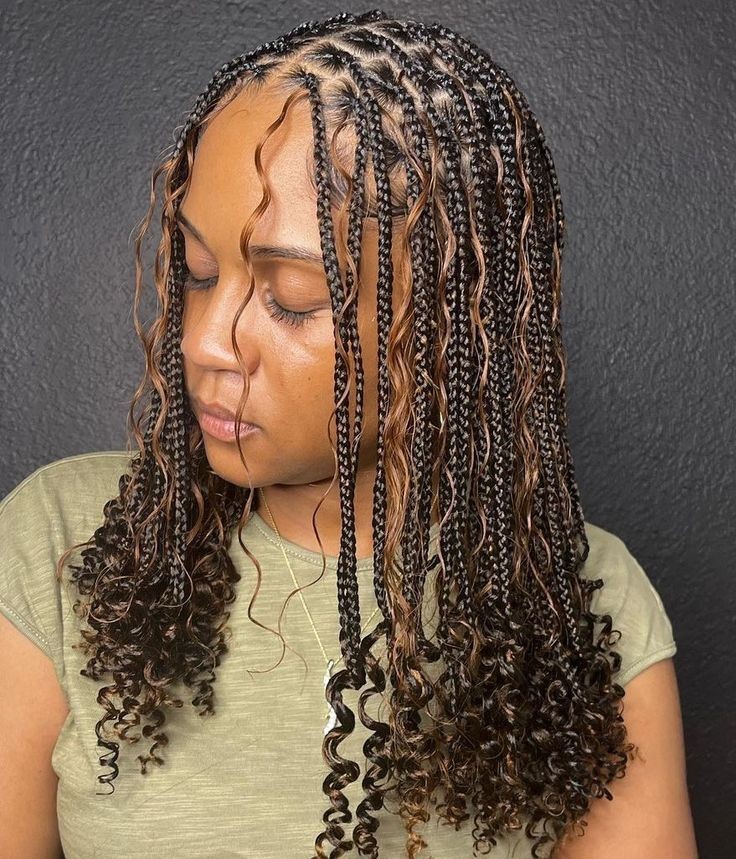

4.Short Hair Knotless Braid Touch-Up
For a short hair knotless braid touch-up, begin with clean, detangled hair. Section your short hair into manageable parts. Choose extensions that match your hair color and length. Employ the knotless braiding technique for a natural finish. Maintain even tension while braiding, and secure the ends carefully. Use edge control for a polished look around the hairline.


Keep braids small for a neat appearance. Ensure the braids are not too tight to prevent discomfort. Moisturize the braids and scalp, and consider protective styling for maintenance. This concise process enhances your short hair with a refreshed knotless braid style.
5.Crochet Method for Touch-Up:
To touch up your hair using the crochet method, start with clean, detangled hair. Section it into manageable portions. Choose a crochet hook suitable for your hair texture. Use the hook to pull in loose or frizzy strands, re-braiding them into the existing style. Be gentle to avoid breakage.


For a natural look, blend your natural hair with extensions seamlessly. Secure the ends properly and apply a small amount of styling product for a polished finish. The crochet method is a quick and effective way to refresh your hairstyle, especially for maintaining braids or twists.
6.Individual Braid Re-Do:
When redoing individual braids, first, unravel the specific braid needing attention. Detangle your natural hair gently and inspect for any damage or breakage. If necessary, trim frayed ends neatly.


Re-braid the section, ensuring it matches the initial style, incorporating your natural hair seamlessly. Use the same or matching extension for consistency. Pay attention to tension for comfort. Secure the ends neatly and apply a minimal amount of edge control for a refined look. Individual braid re-doing allows for targeted maintenance, preserving the overall integrity of your hairstyle.
7.Scalp Massage During Touch-Up
Incorporate a scalp massage during your touch-up for added relaxation and scalp health. Use your fingertips to gently massage your scalp in circular motions. This increases blood circulation and promotes a soothing experience. The massage can be done with or without the addition of a light oil or moisturizer. This simple step not only enhances your touch-up routine but also contributes to overall scalp well-being and a more enjoyable DIY experience.


Click Here To Buy Products
8.Product Recommendations for Touch-Up
For an effective DIY touch-up, assemble a few key products to enhance your process. Start with a leave-in conditioner to moisturize and ease detangling, providing a smooth foundation. Define edges and manage flyaways with a reliable edge control or gel. Add a hair oil or serum for shine and nourishment, particularly focusing on the ends. Keep your scalp hydrated and refreshed with a scalp spray or mist. A crochet hook is essential for fixing loose strands and maintaining braids. Use a hair moisturizer to revitalize both your natural hair and extensions.


For nighttime care, consider a satin scarf or bonnet to protect your style while sleeping. Include an apple cider vinegar rinse in your routine for a refreshing cleanse without stripping natural oils. Finish with a light hold hair spray to set your style without stiffness. If needed, have a hair-friendly adhesive on hand for securing ends or addressing minor braid issues. Tailor these product choices to your hair type and preferences to achieve the best results during your touch-up.
9.Tips for Avoiding Breakage During Touch-Up
When engaging in a touch-up, prioritizing strategies to avoid breakage is crucial for maintaining healthy hair. Begin by gently detangling your hair with a wide-tooth comb or fingers to minimize stress on the strands. Ensure your hair stays hydrated by applying a leave-in conditioner or moisturizer. Work in small, manageable sections during the touch-up to maintain control and prevent excessive pulling. Keep tension moderate while braiding to avoid strain on your hair.


Be cautious not to over-tighten, especially around the edges, as this can contribute to breakage. Choose the right tools, such as a suitable crochet hook or comb, to minimize stress during the process. Trim any frayed ends carefully to prevent further damage, and consider protective styling at night to reduce friction. Regular maintenance, including moisturizing and protective measures, will contribute to overall hair health and resilience, minimizing the risk of breakage during touch-ups
10.DIY Knotless Braid Take-Down Guide:
To remove knotless braids yourself, start by cutting the extension hair close to your natural hair. Apply a braid-removing solution or oil to the braids, gently unraveling them. Detangle any remaining knots with a wide-tooth comb. Wash and moisturize your hair afterward. Be patient and gentle to avoid hair breakage during the takedown process.
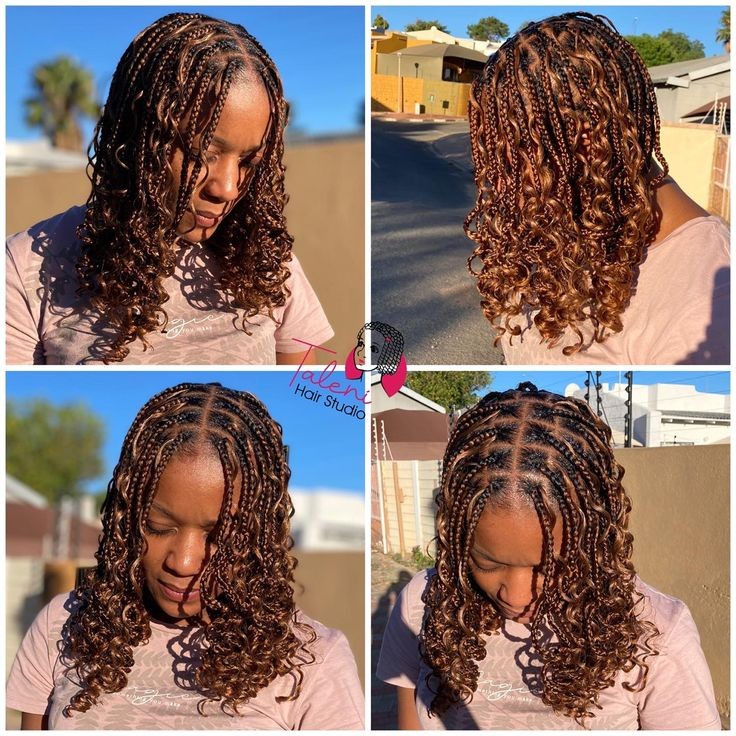

Master the technique for perfect braids.
Achieving flawless braids can be a challenging task for many, but with the right technique and practice, anyone can master this art form. The key to perfect braids lies in attention to detail and a methodical approach. It is essential to begin with clean, detangled hair to ensure a smooth and seamless braiding process. Sectioning the hair into neat and even parts not only aids in maintaining symmetry but also makes the braiding process more manageable.


Additionally, maintaining consistent tension while braiding is crucial for achieving clean and uniform braids. By following these steps and dedicating time to perfecting the technique, you can become proficient in creating impeccable braids that will showcase your hair styling skills.
Gather the right tools and products.
To achieve professional-looking knotless braids, it is essential to gather the right tools and products. Start by ensuring you have a wide-tooth comb or detangling brush to effectively remove any knots or tangles from the hair. A rat-tail comb can be useful for creating precise partings and sections. Additionally, having a spray bottle filled with water or a leave-in conditioner can help keep the hair hydrated and manageable throughout the process.


Investing in high-quality braiding hair that closely matches your natural hair color and texture is crucial for achieving seamless and natural-looking braids. Finally, having a selection of hair clips or hair bands to hold sections in place as you work can greatly assist in maintaining organization and control. By gathering these essential tools and products, you will be well-equipped to create beautiful knotless braids with ease.
Prep your hair for braiding.
Before diving into the braiding process, it is important to properly prepare your hair to ensure optimal results. Start by thoroughly washing and conditioning your hair to remove any buildup or residue. Use a gentle shampoo and a moisturizing conditioner to keep your hair hydrated and manageable. After rinsing, gently towel dry your hair to remove excess moisture, being careful not to rub or tug on the strands.
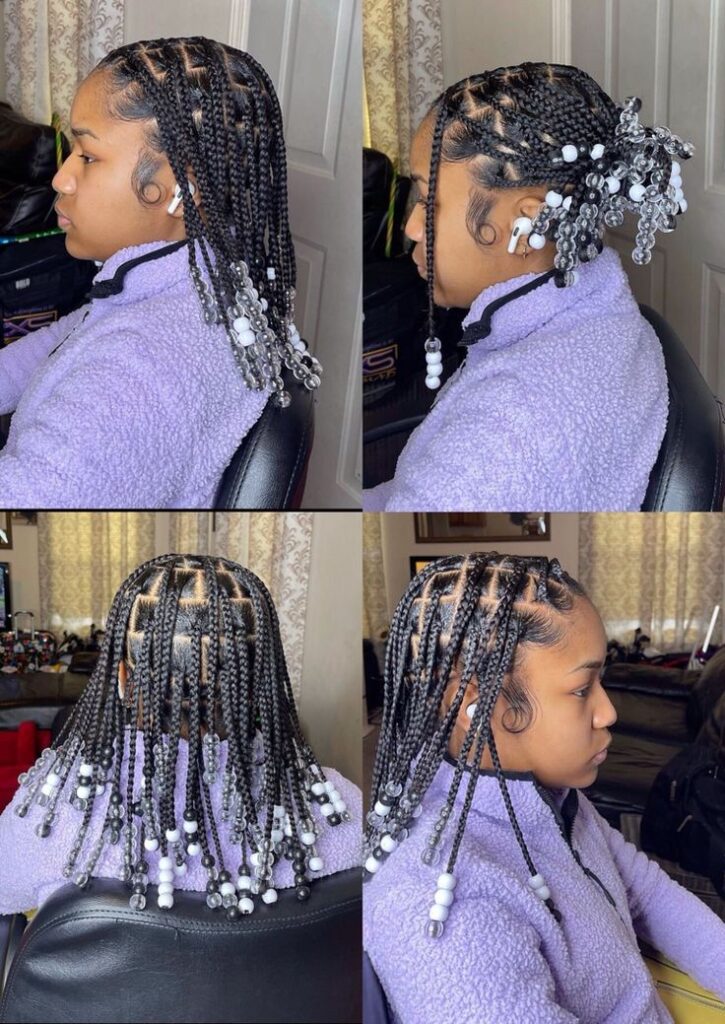

Detangle your hair using a wide-tooth comb or detangling brush, starting from the ends and working your way up to the roots. This step is crucial to remove any knots or tangles that can hinder the braiding process. Applying a lightweight leave-in conditioner or a hair oil can also help to soften and moisturize the hair, making it easier to work with. By effectively prepping your hair, you will create a solid foundation for flawless and long-lasting braids.
Section and part your hair.
To ensure a seamless and professional-looking result, it is essential to section and part your hair properly before starting the knotless braid touch-up process. This step will not only make the braiding process more organized but also ensure that each braid is uniform in size and shape. Begin by using a rat-tail comb to create a clean and precise horizontal or vertical parting, depending on the desired braid pattern.
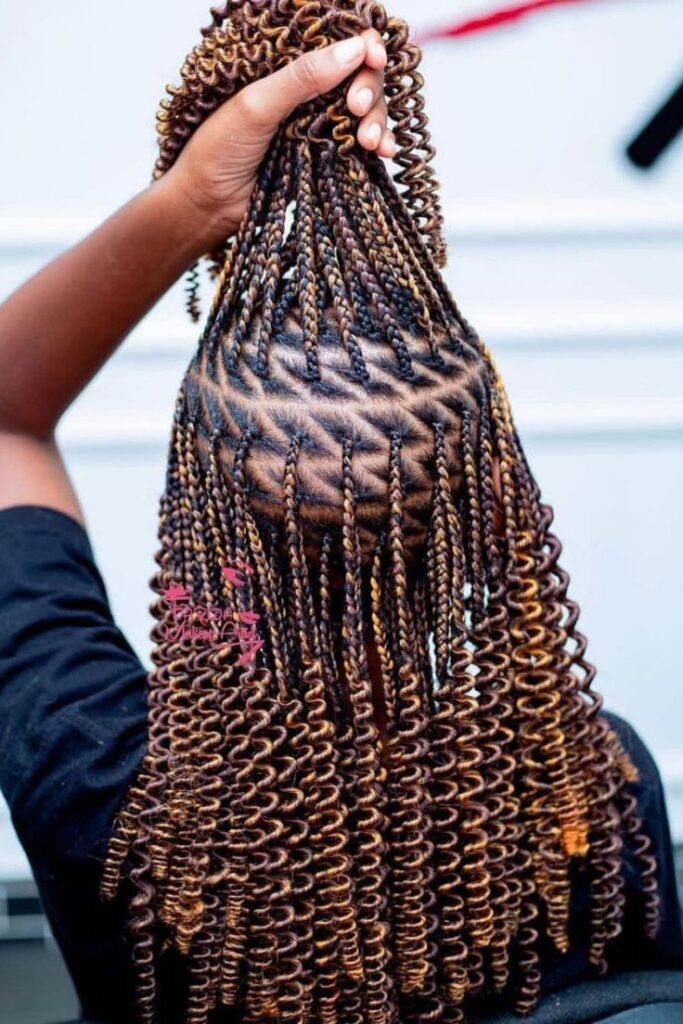

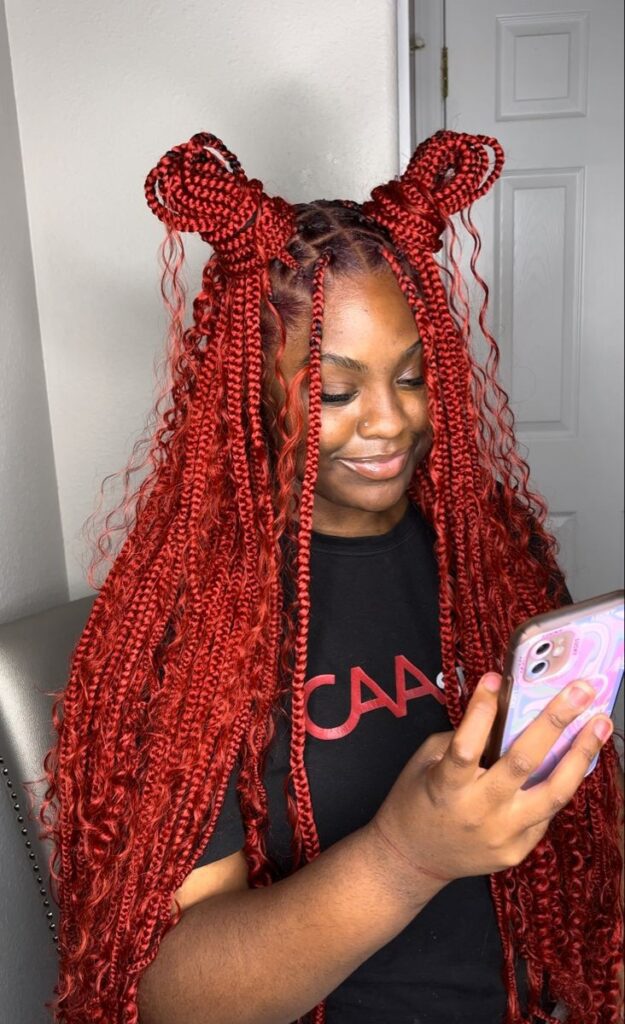


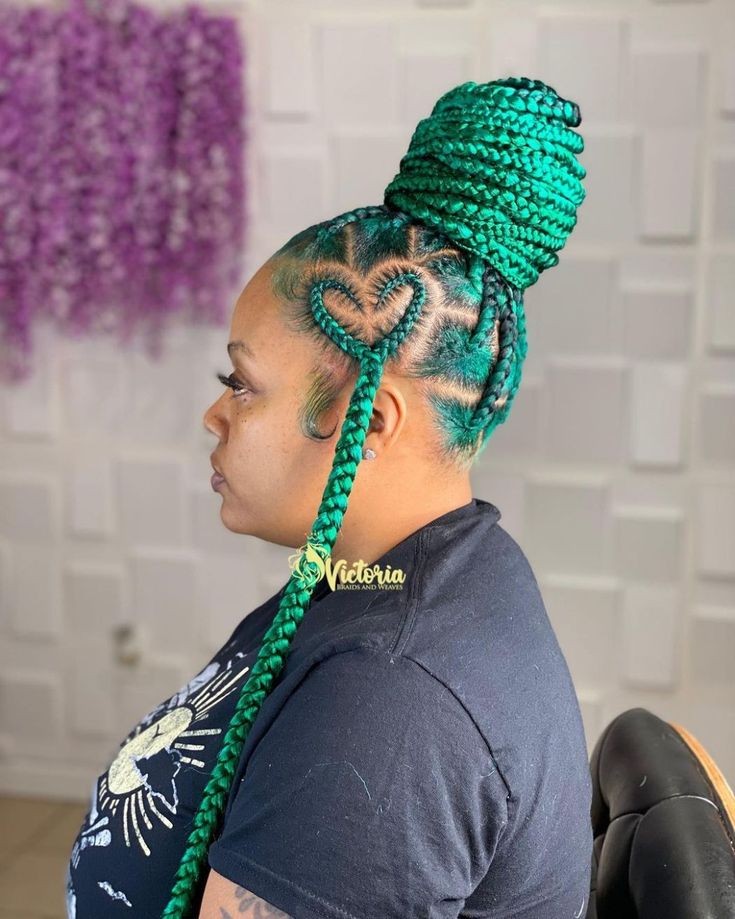

Start at the nape of the neck and work your way up, separating the hair into small sections and securing them with hair clips or rubber bands. This systematic approach will make it easier to focus on one section at a time and maintain control over the braiding process. Remember to take your time and ensure that each section is neatly separated before proceeding to the next step. By taking the time to section and part your hair accurately, you will pave the way for a flawless and professional-looking knotless braid touch-up.
Start with a solid foundation.
To achieve a successful and long-lasting knotless braid touch-up, it is crucial to start with a solid foundation. This means ensuring that your hair is in optimal condition before beginning the touch-up process.
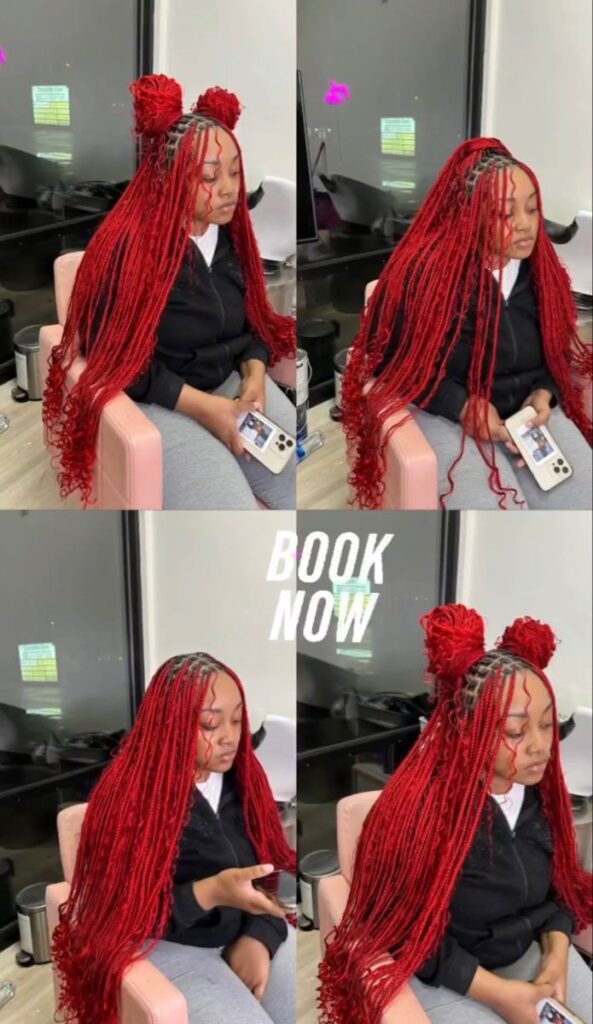

Prioritize deep conditioning treatments and moisturizing routines to nourish and strengthen your hair strands. Additionally, detangling your hair thoroughly and removing any knots or tangles will contribute to a smoother and more manageable touch-up. By establishing a strong foundation of healthy and well-prepared hair, you set yourself up for a seamless and professional-looking knotless braid touch-up.
Avoid tension and scalp damage.
One key aspect to consider during the knotless braid touch-up process is the avoidance of tension and potential scalp damage. When adding or adjusting the braids, it is important to maintain a gentle approach to prevent excessive pulling or tightness. Applying excessive tension can lead to discomfort, scalp irritation, and even hair breakage.
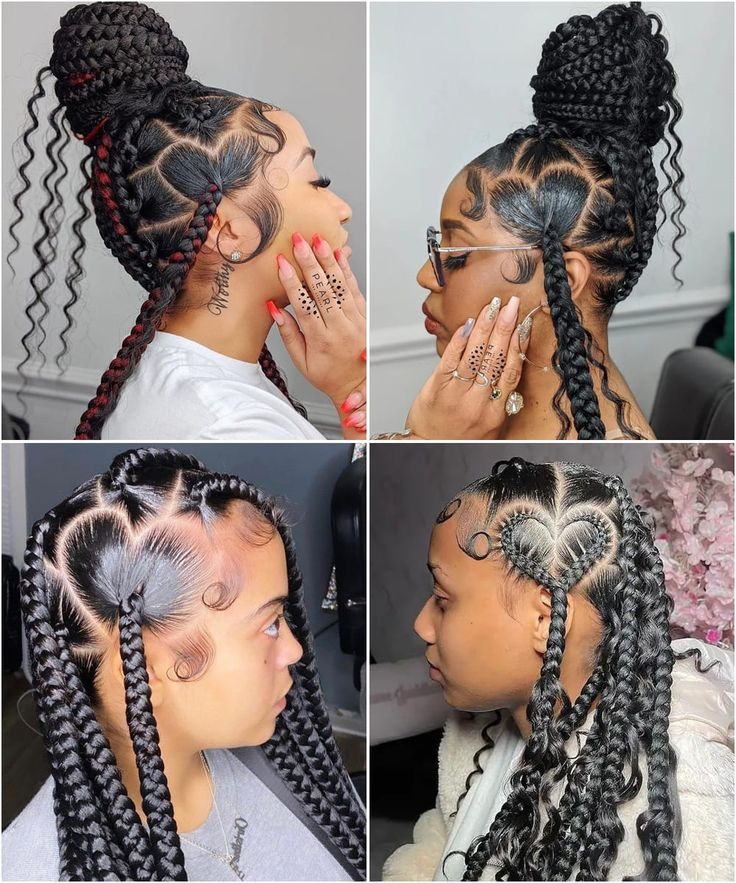

Be mindful of the amount of pressure being exerted on your scalp and ensure that the braids are secured without causing discomfort. Additionally, periodically checking the tightness of the braids throughout the touch-up process will allow for adjustments to be made, promoting a healthier and more comfortable experience overall. By prioritizing scalp health and minimizing tension, you can maintain the integrity of your hair and achieve a flawless knotless braid touch-up.
Keep your hands steady.
To achieve a professional and polished knotless braid touch-up, it is crucial to keep your hands steady throughout the process. This steady hand ensures precision and accuracy when adding or adjusting the braids.
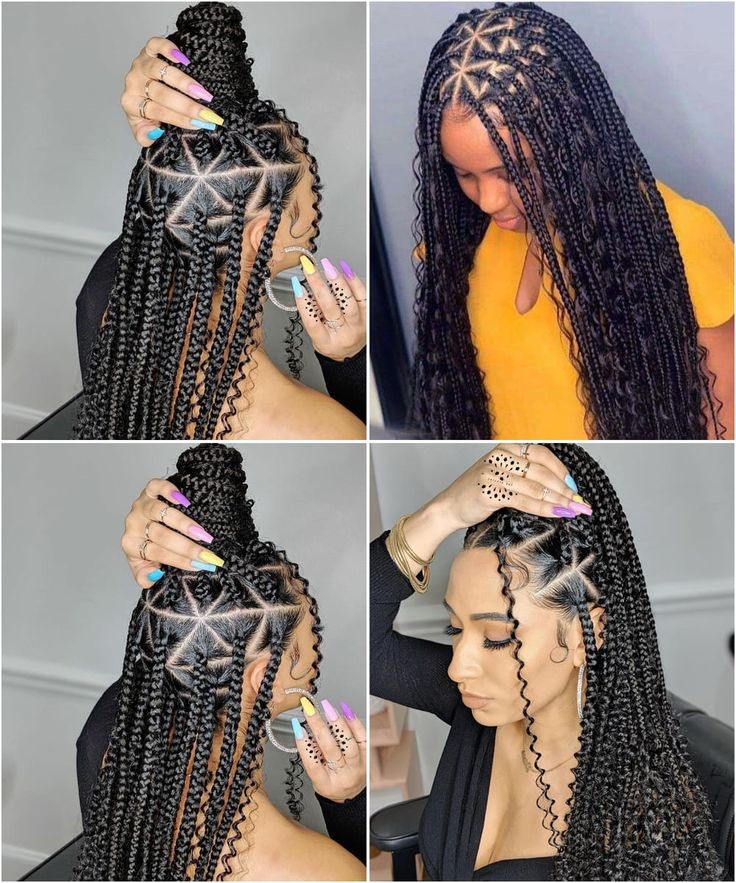

It allows for better control over the tension applied to the hair, minimizing the risk of pulling too tightly or causing discomfort. By maintaining a steady hand, you can create neat and even braids, resulting in a seamless and beautiful end result. Practice patience and focus on maintaining a stable grip to ensure a successful and visually appealing knotless braid touch-up.
Secure and maintain tension.
When working on a knotless braid touch-up, it is essential to secure and maintain tension in order to achieve a professional outcome. Proper tension ensures that the braids are securely in place and will not unravel over time. To secure the tension, start by applying a small amount of styling gel or edge control near the root of each braid.


Then, using your fingers or a fine-toothed comb, gently pull the hair taut, ensuring that it is snugly held in place. Throughout the touch-up process, periodically check the tension of each braid, making any necessary adjustments to maintain consistency. By prioritizing secure and maintained tension, you will not only enhance the longevity of your knotless braids but also elevate the overall appearance of your hairstyle.
Create a seamless finish.
To create a seamless finish for your knotless braid touch-up, attention to detail is key. Once the braids are secured with proper tension, take the time to carefully inspect each braid for any loose or stray hairs. Using a small pair of scissors or a precision trimming tool, delicately trim any excess strands to ensure a clean and polished look.


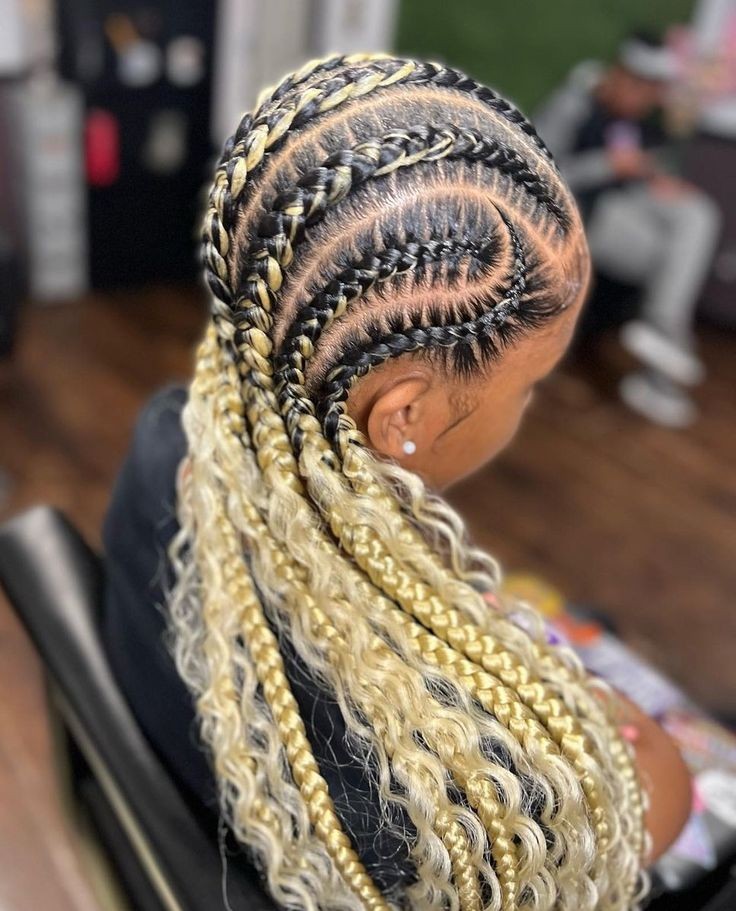


Additionally, consider using a lightweight hair oil or serum to add shine and reduce frizz along the length of each braid. Gently run the product through your fingers and lightly apply it to the braids, taking care not to weigh them down. By paying close attention to these finishing touches, you can achieve a flawless and professional result when refreshing your knotless braids.
Refresh and extend your braids.
To maintain the longevity and freshness of your braids, it is important to regularly refresh and extend them. This can be done by carefully unraveling the ends of each braid and gently detangling any knots or tangles that may have formed. Once the braids are free, you can apply a small amount of moisturizing hair spray or leave-in conditioner to revive the hair and restore its natural shine. Next, using a professional-grade crochet hook or needle, carefully add additional synthetic hair extensions to the braids, securely blending them with the existing braided hair.


Take your time to ensure each extension is properly attached, paying attention to the placement and tension to maintain a seamless and natural look. By refreshing and extending your braids, you can enjoy a fresh and stylish appearance while prolonging the lifespan of your hairstyle.


In conclusion, a DIY knotless braid touch-up can be a cost-effective and convenient option for maintaining this popular hairstyle. With the right tools and techniques, anyone can achieve a flawless and long-lasting touch-up at home. However, it is important to remember to take breaks between braiding sessions and to properly moisturize and care for your hair to prevent damage. Whether you are a seasoned braider or a beginner, this guide can help you achieve beautiful and refreshed knotless braids at home. So go ahead and give it a try, and don’t forget to share your results with us!
Must-Have Hair Accessories for Knotless Braids
Must-have hair accessories for knotless braids include hair ties, clips, and a rat-tail comb for parting. A satin scarf or bonnet helps maintain braids overnight. Beads or cuffs add a stylish touch. Hair oil or edge control keeps edges sleek. These essentials ensure a neat, lasting knotless braid hairstyle


The Complete Guide to Washing Knotless Braids
To wash knotless braids, dilute sulfate-free shampoo, apply gently to the scalp, and rinse with lukewarm water. Use a leave-in conditioner on the braids. Avoid excessive manipulation and ensure thorough drying to prevent frizz. Wash every 2-4 weeks to maintain cleanliness without compromising the style’s longevity.
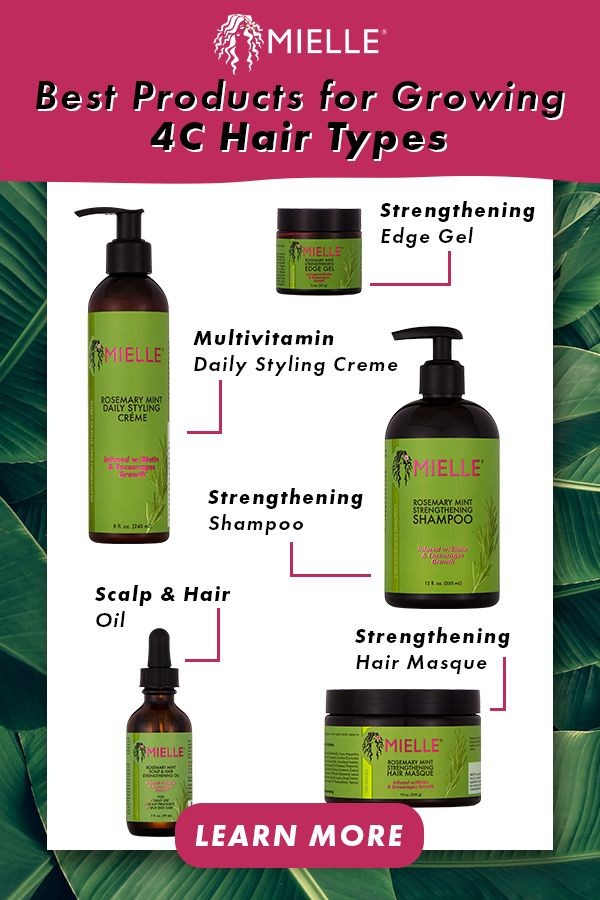

Best waterfall braid products for black hair
For a waterfall braid on black hair, use a moisturizing shampoo and conditioner to maintain hair health. Opt for a lightweight styling cream or gel to control frizz and add shine. Additionally, a good edge control product helps create clean edges. Satin scrunchies or hair ties can secure the braid without causing breakage.


